Overview
The Track & Bill work flow is centered around your Clients, using an intuitive user interface. You’ll first create Clients, then you’ll create Projects for your Clients, and finally Sessions for your Projects. For each Project, user’s have the option to create invoices and export as PDF’s, or create CSV files for email delivery.
Please Note: Track & Bill data exists only on the user’s device. Please remember to BACKUP YOUR DATA using the App’s Export feature to safeguard your data. Track & Bill is not responsible for any data loss.
- The Dashboard is the starting point
- The first step in using Track & Bill is creating your User Profile

- Select Profile from the Dashboard
- Enter your name or company, address, and all other requested information
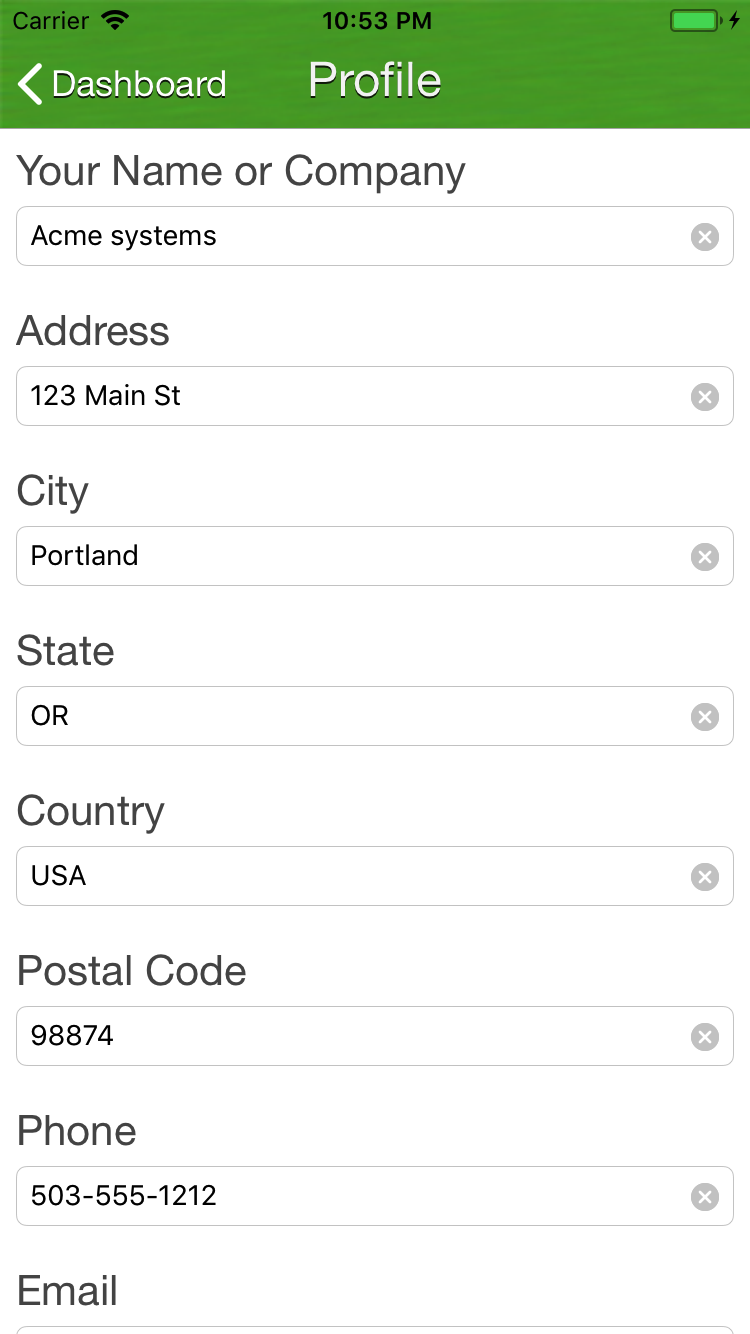
- After creating a Profile, select the back button to return to the Dashboard.
- Note: your profile is saved when selecting the back button.
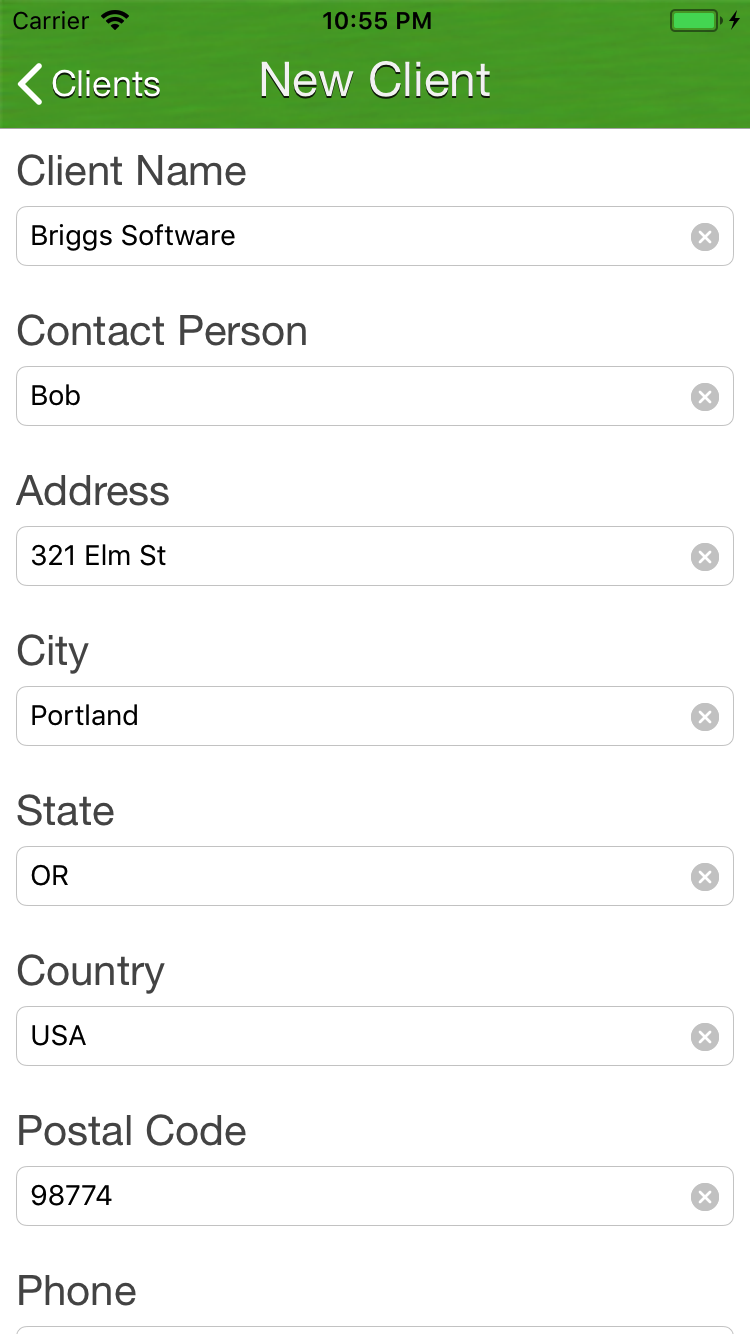
- Select “Clients” from the dashboard, and select “New” from the navigation bar.
- Enter a new client information in the provided text fields.
- After you’ve completed the form, and created a new client, hit the back button to see your new Client in the list.

Create a project for your client
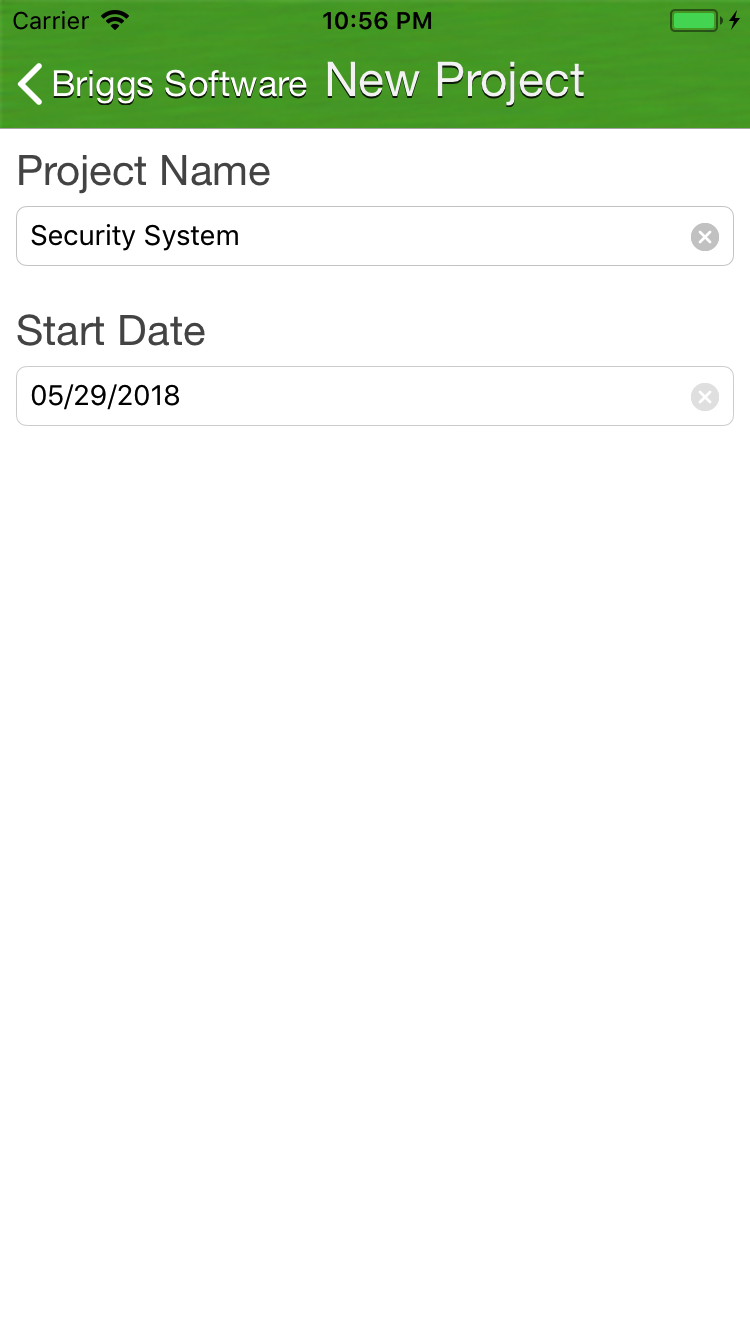
- In the Clients view, select the desired client.
- This will bring you to the selected client’s project view.
- Select “New” in the navigation bar to bring up the New Project view.
- In the New Project view, add the project name, and start date.
- When completed, hit the back button to return to the Projects list.
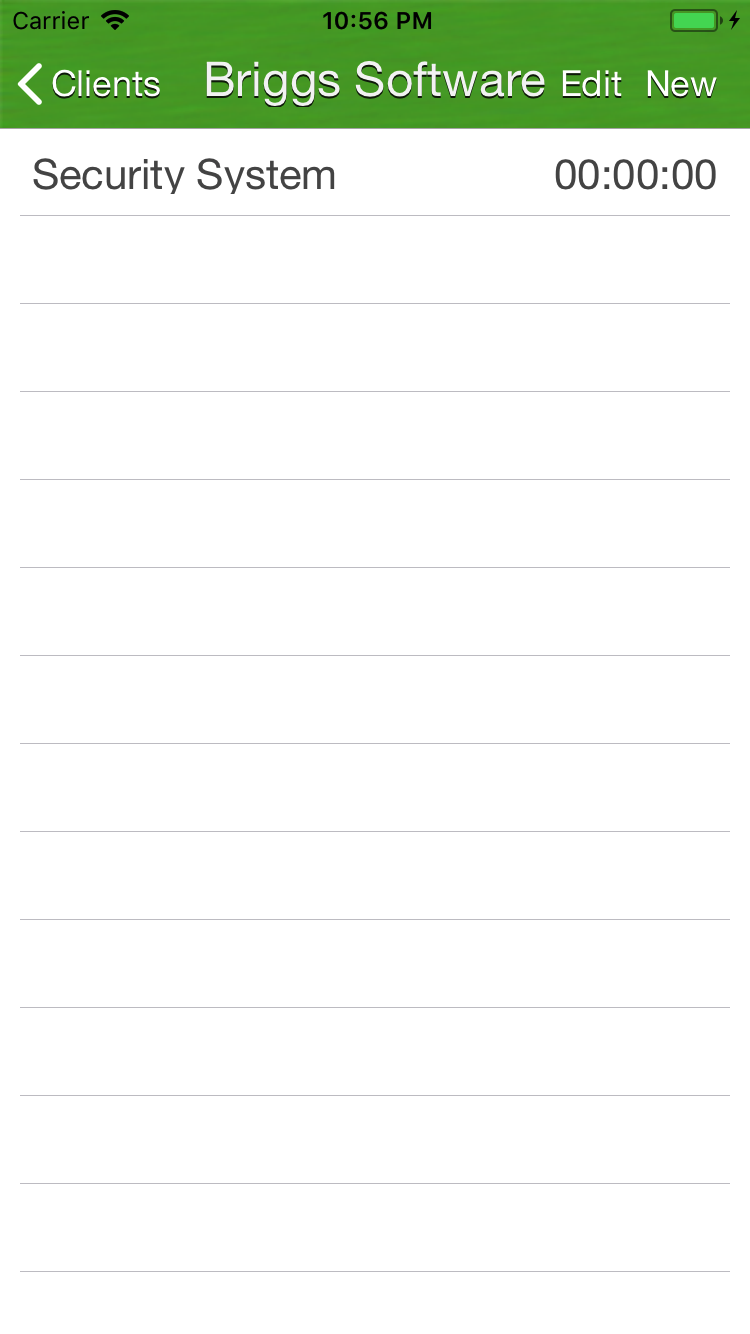
- In the Projects list, select the desired Project.
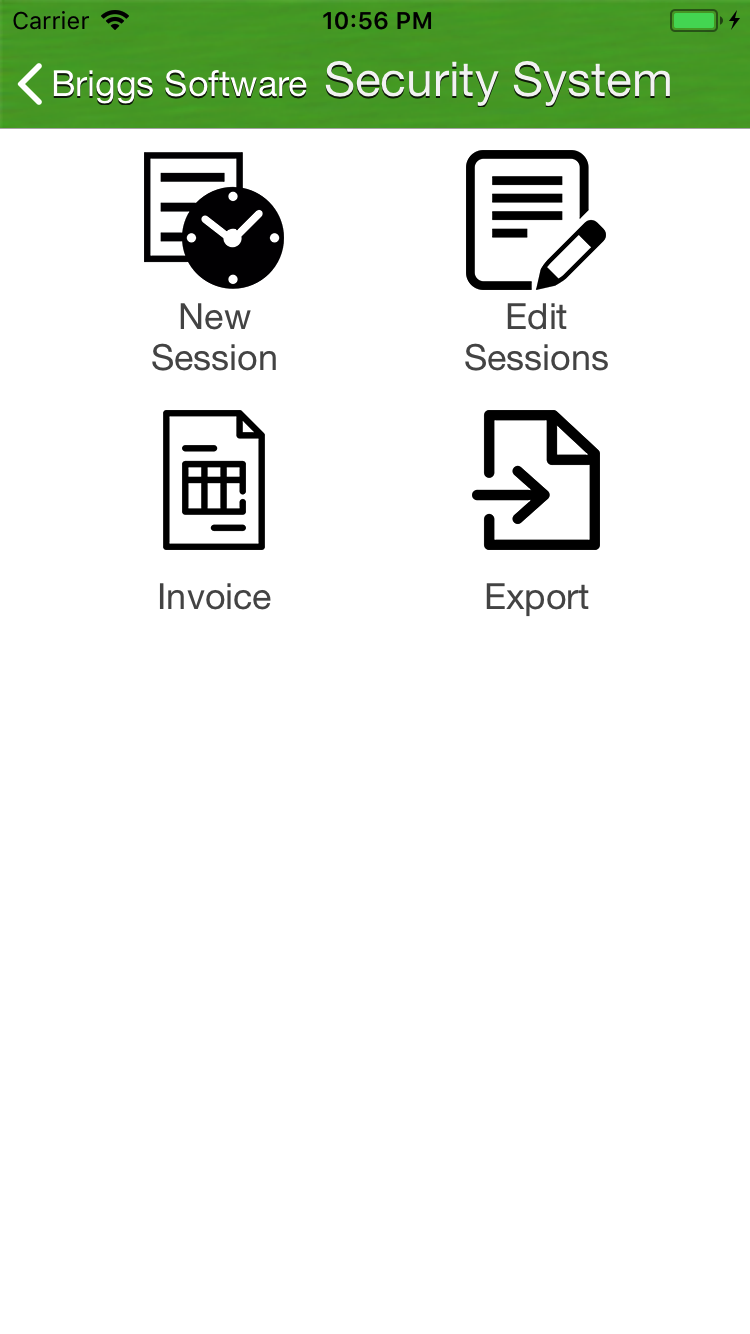
- Selecting the project brings up the project details view.
- In project details, you have several options.
- To start a new session, select the “New Session” button.
- “Edit Session” allows you to edit completed sessions.
- Invoice allows you to view, edit, and export an invoice for the current project.
- Export allows you to create a CSV file of the current project’s sessions, and email the file.
Start a Session for your Project
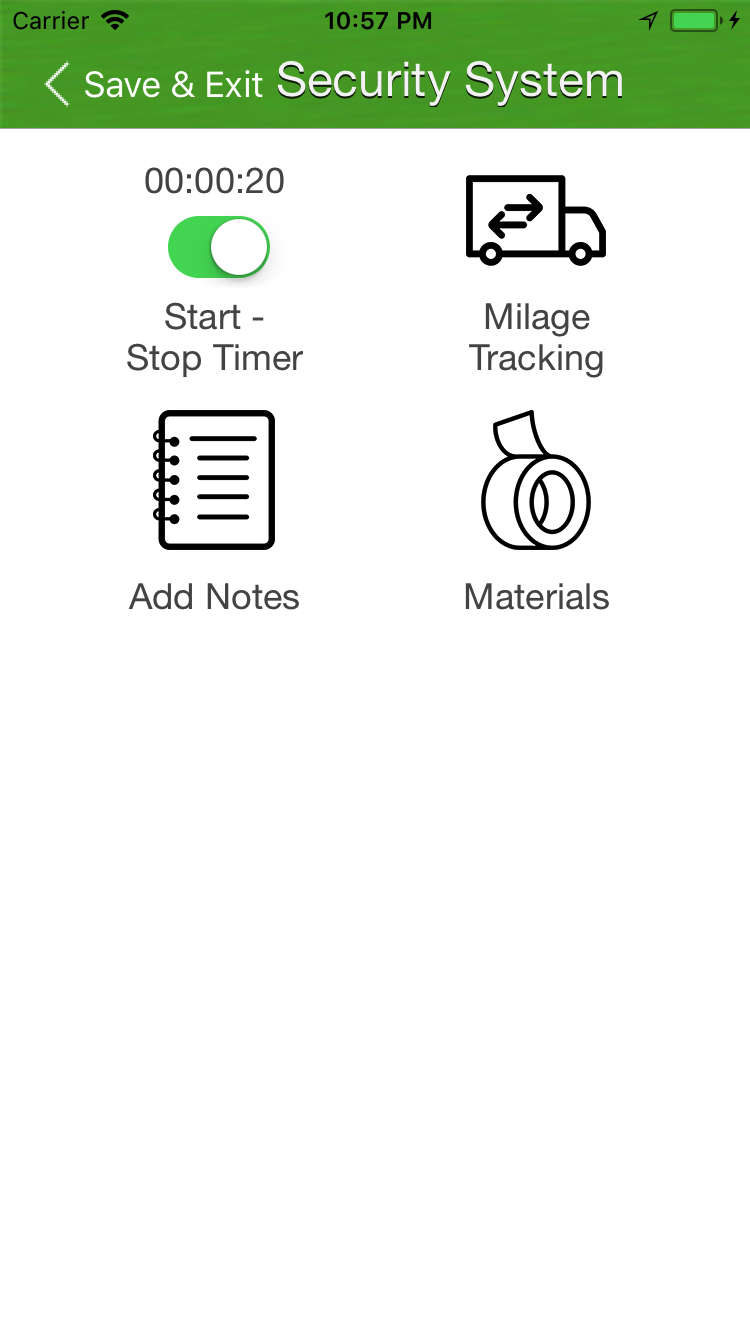
- Select “New Session”.
- To start your session timer, toggle the “Start-Stop” timer switch to ON.
- To complete the session, toggle the “Start-Stop” timer switch to OFF.
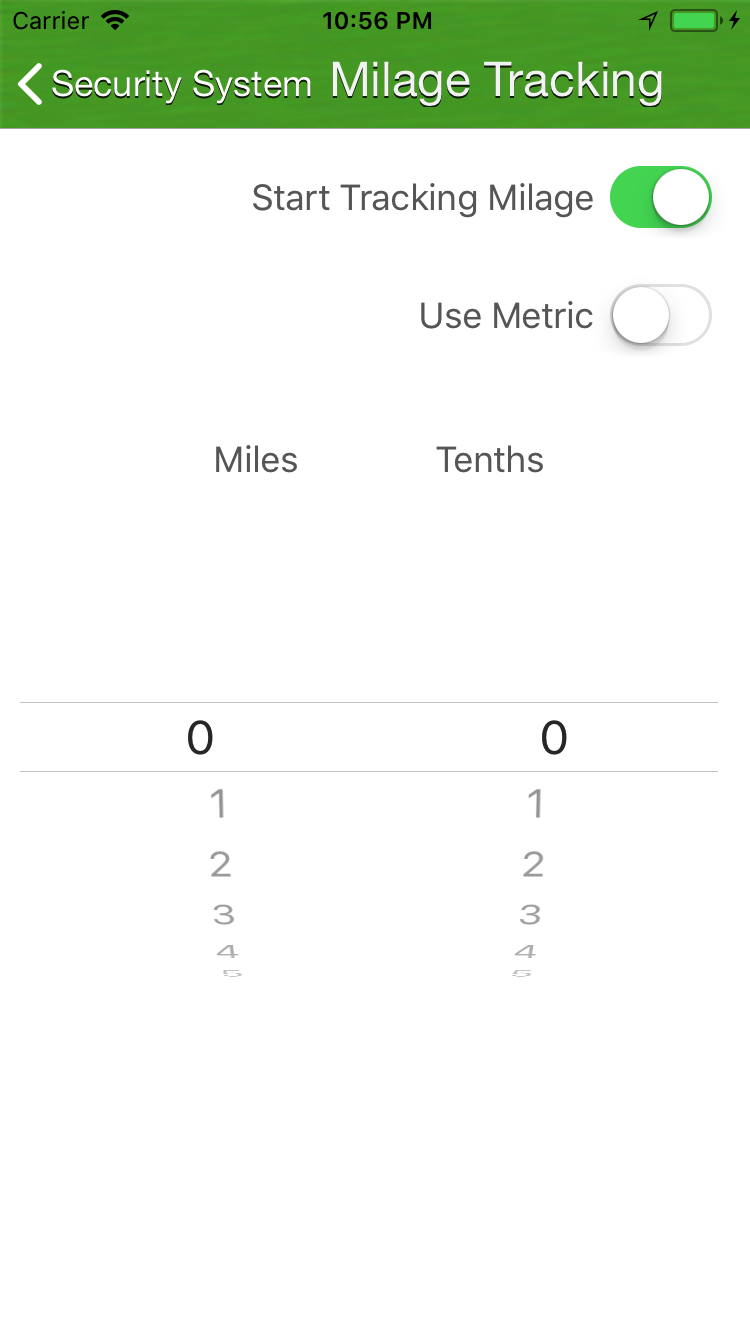
- To track travel/milage, select “Milage Tracking”.
Track Travel/Milage
- Toggling “Start Tracking Milage” to ON will track your position and increment your total travel distance in the picker display.
- You may also manually set milage/travel distance using the picker control. Note: when
“Start Tracking Milage” is toggled to ON, you will not be able to manually set the milage. - If you require distance in kilometers, toggle the “Use Metric” button to ON.
- When you are done tracking travel/milage, select the back button to save and return to the project view.
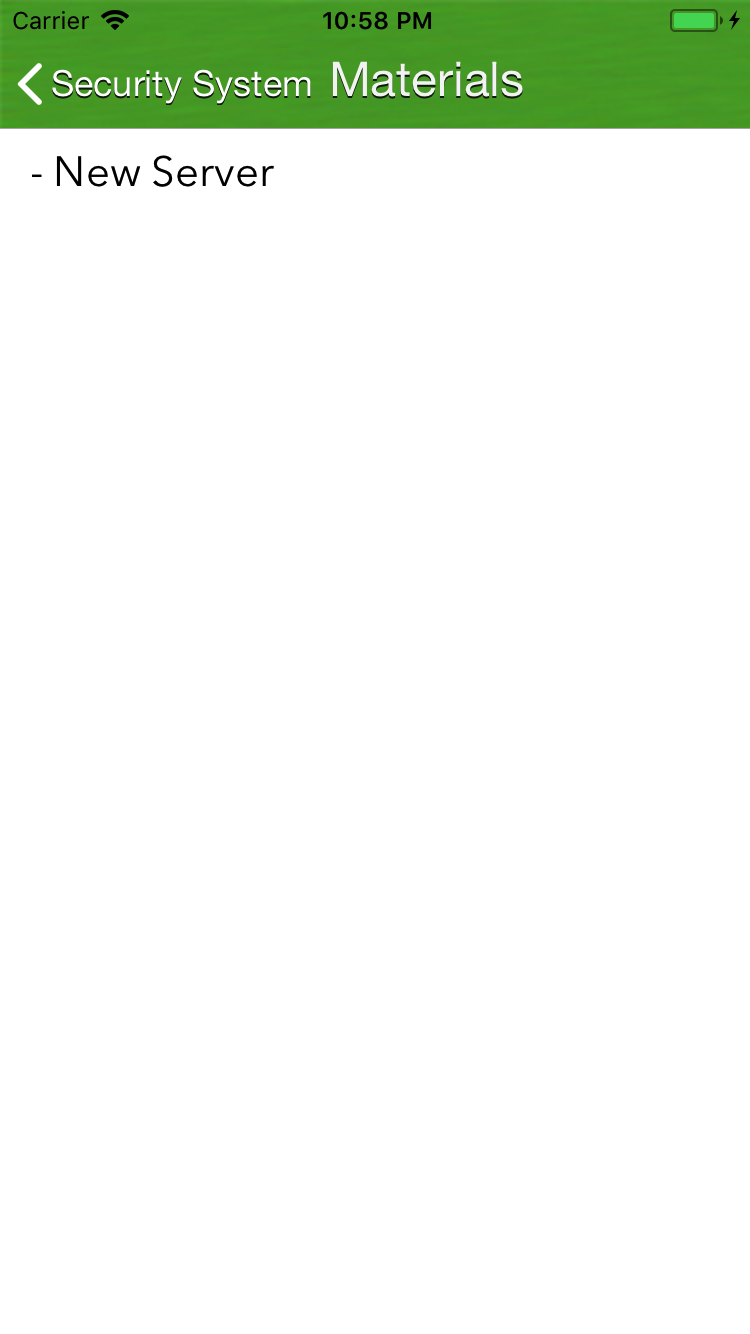
Log Materials
- Materials allows you to list materials used while engaged in a session.
- Select “Materials”, and add freeform text. Materials are available on the final invoice and export for the project.
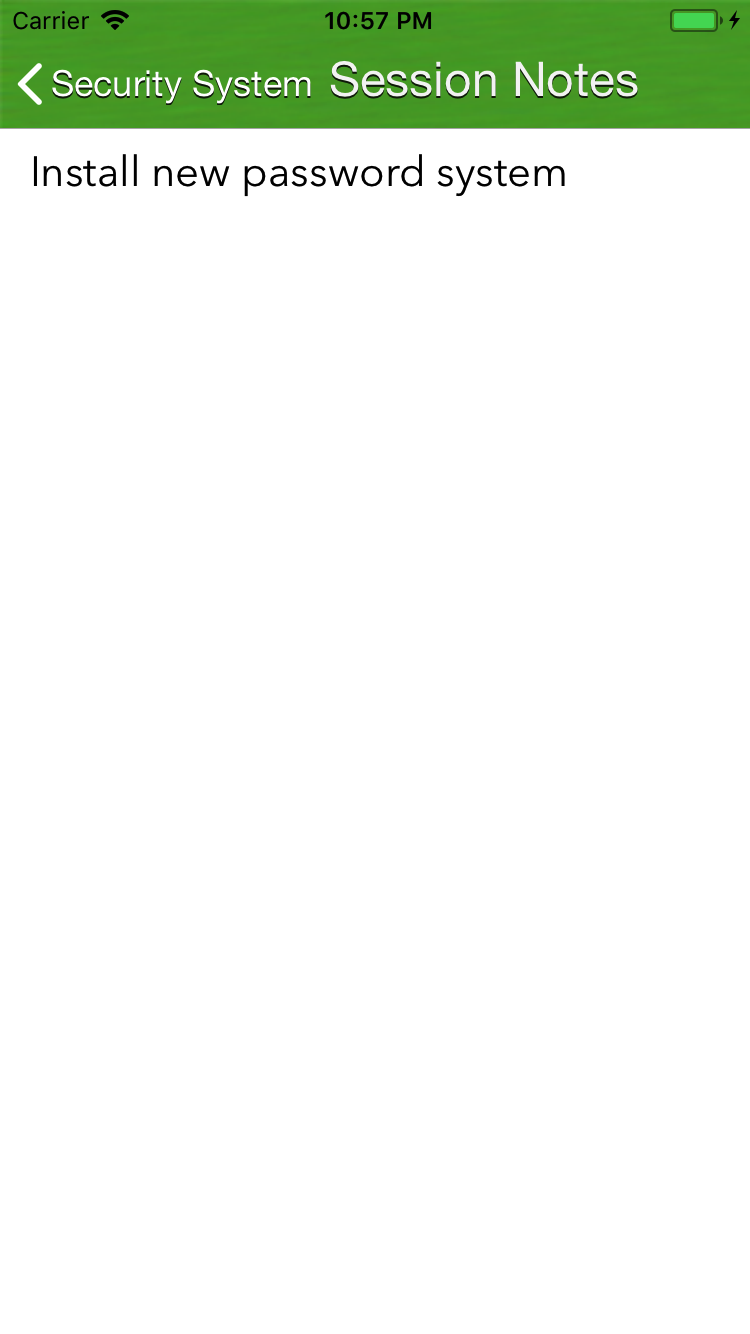
Add Notes for Session
- Select “Notes” to add any project specific freeform notes. Notes are available on the final invoice and export for the project
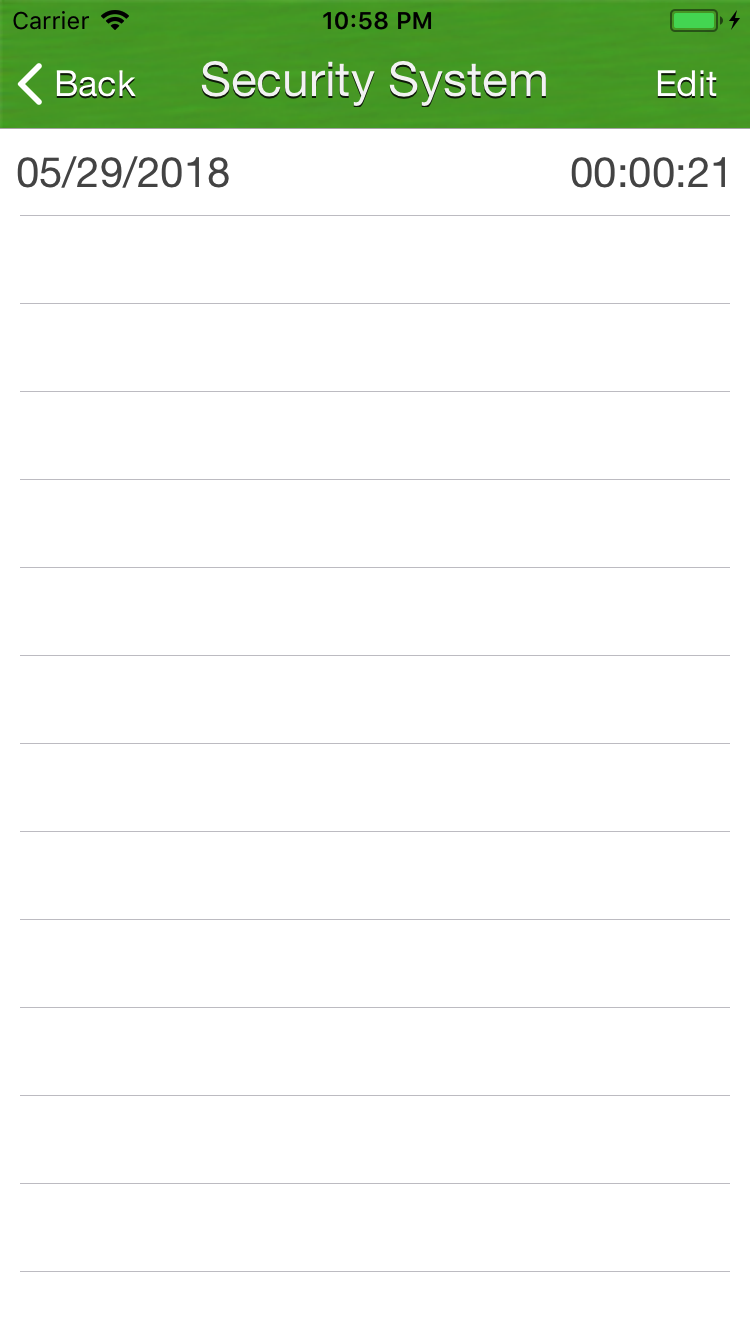
Display all sessions for a Project
- To display and edit project sessions, select “Edit Sessions” from the project details view.
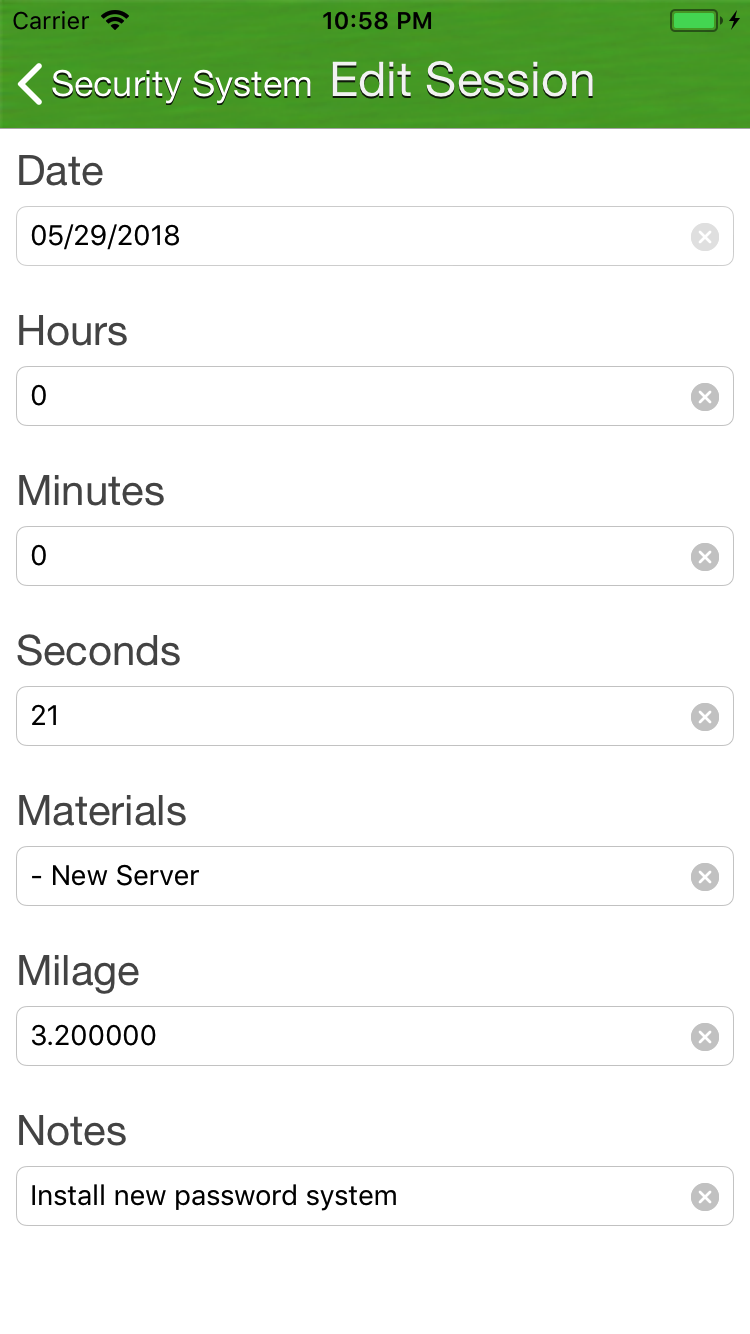
Edit a Session
- Select the desired session from the list, and edit the session info in the form view.
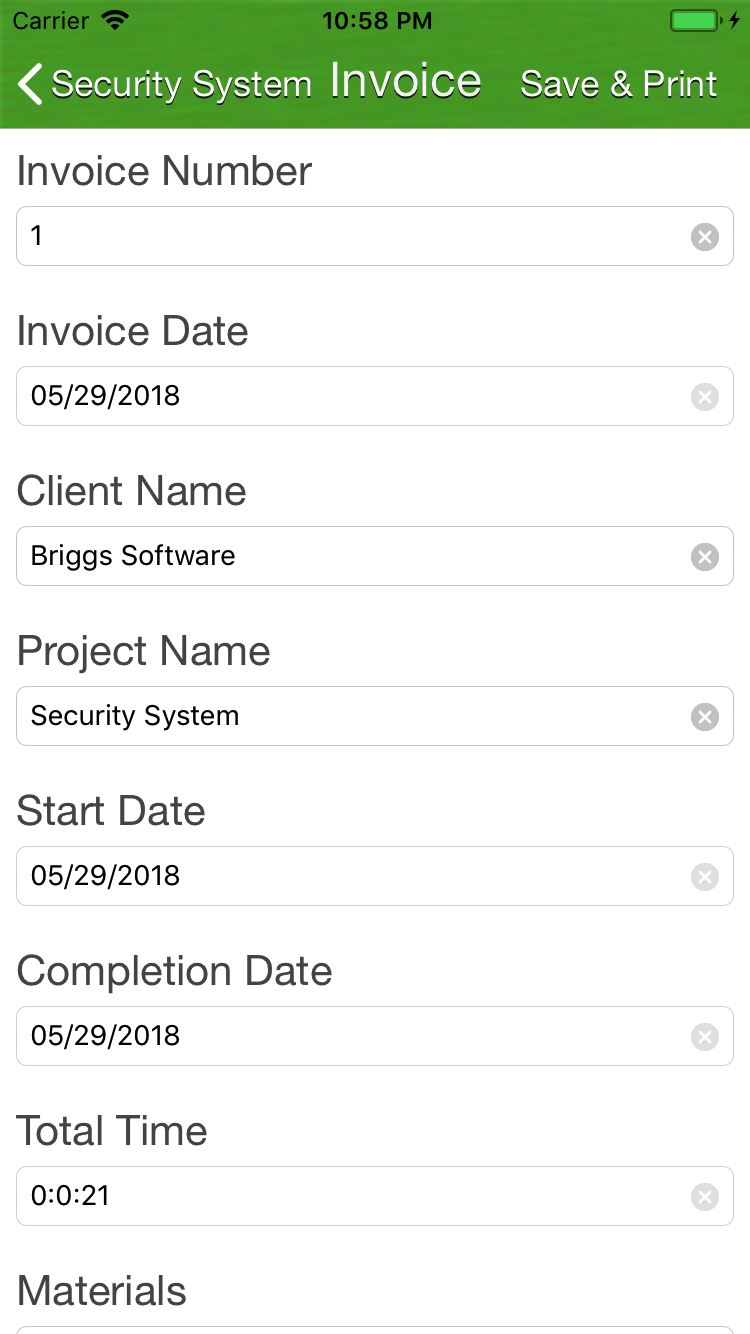
- Select “Invoice” from the Project details view.
- Add invoice details in the form view.
- Note: Please examine the invoice fields, and enter the required information.
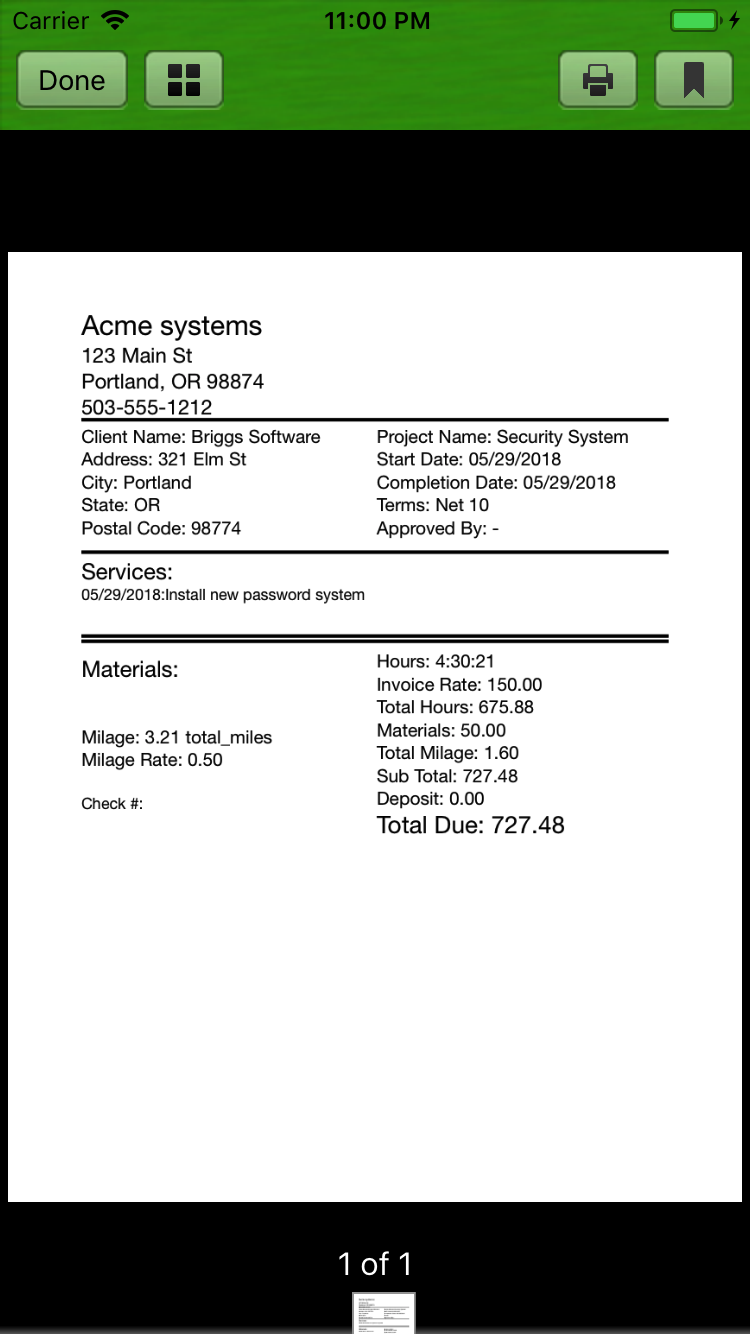
Create PDF for Project Invoice
- When your invoice fields are completed, select “Save & Print” from the navigation bar, to create a PDF export for printing and email.
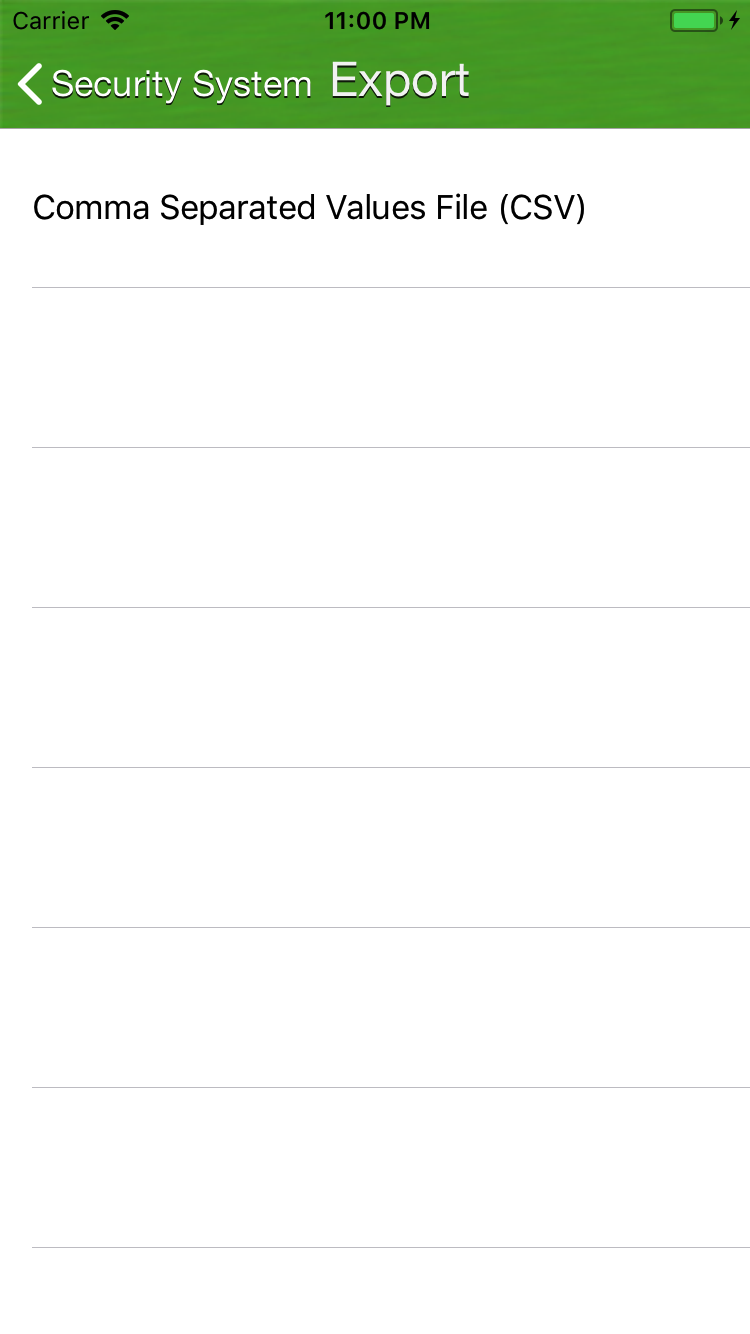
- To Export the current project’s sessions to a CSV file, select “Export” from the project details view.
- Select “Comma separated values(CSV) from the list.
- CSV file will be created, and attached to an email.
- Enter an address for the email, and send.
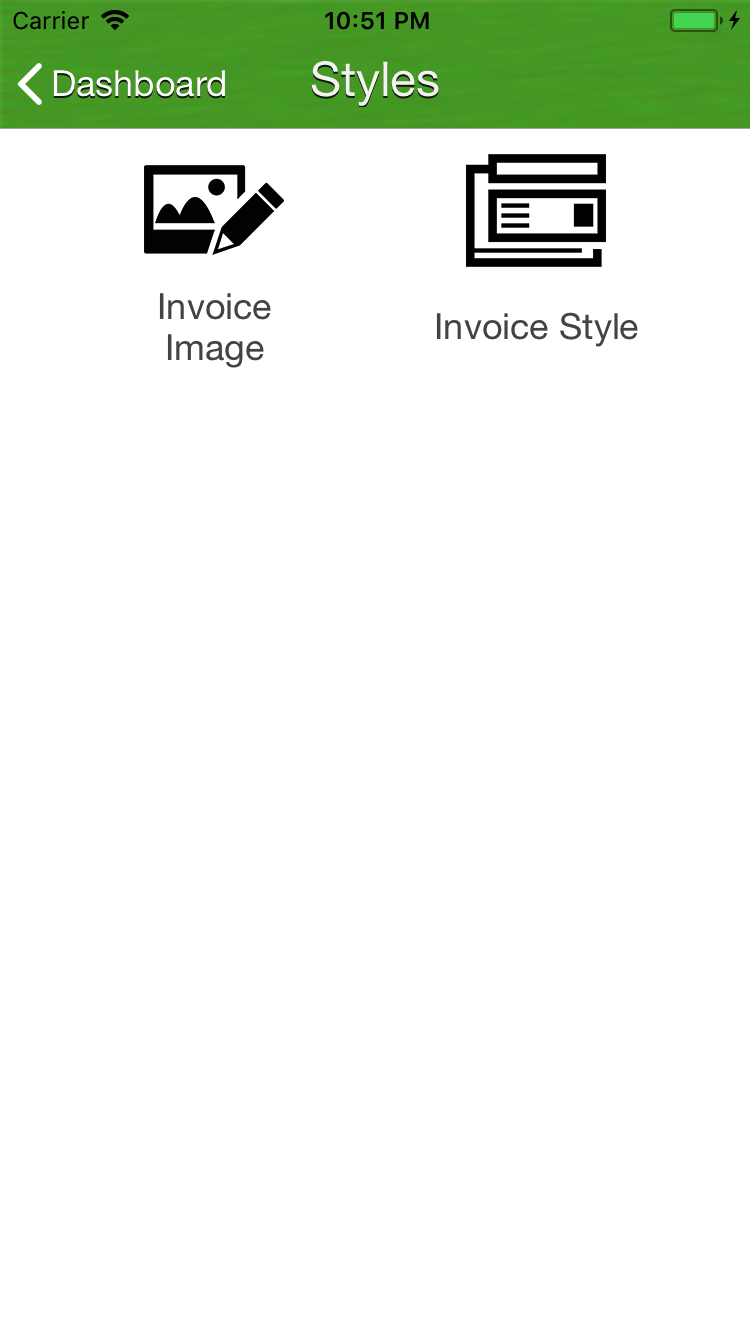
- In the dashboard view, select “Styles”.
- To add an image for your Invoice background, select “Invoice Image”, and select the image from you image library.
- Note: You may need to adjust your image to make it work with the generated invoice.
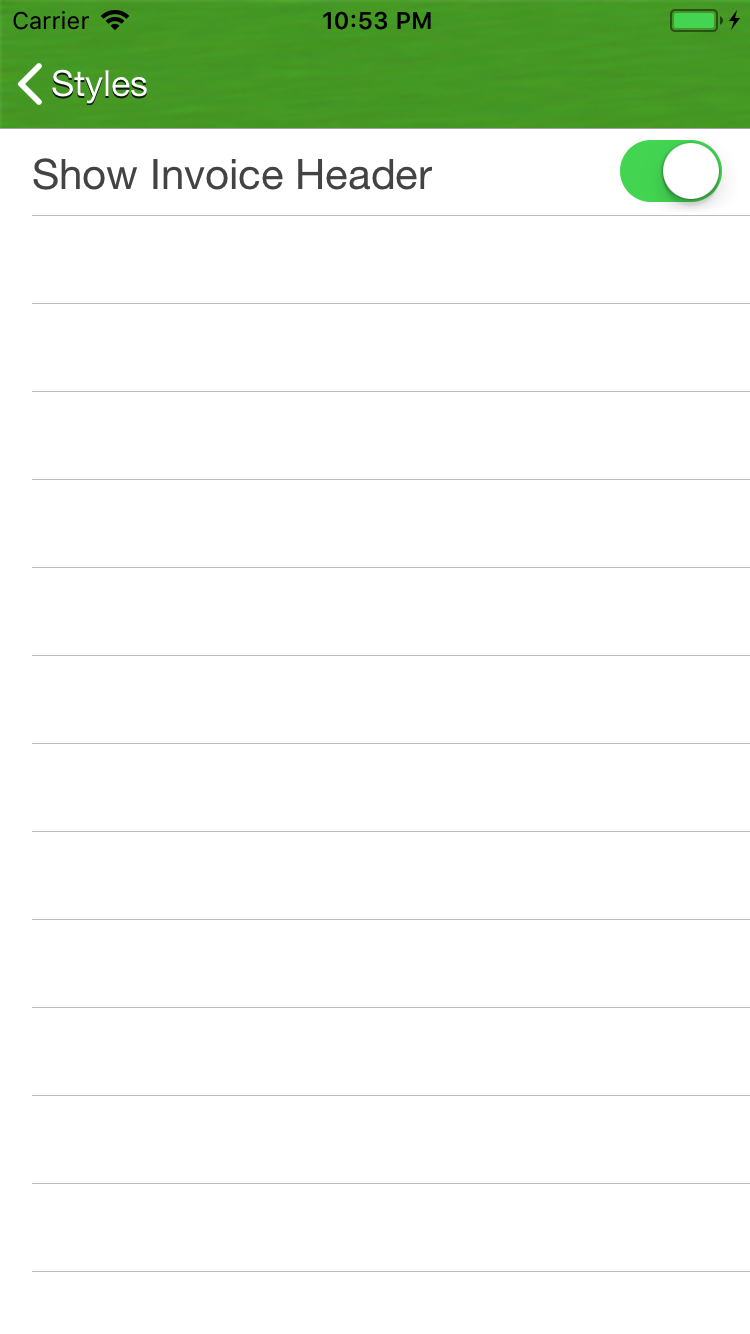
- To Hide the auto-generated header in your invoice, select “Invoice style”, and toggle the “Show Invoice Header” button to off.
- Hiding the header allows you to use a custom header image in the background.
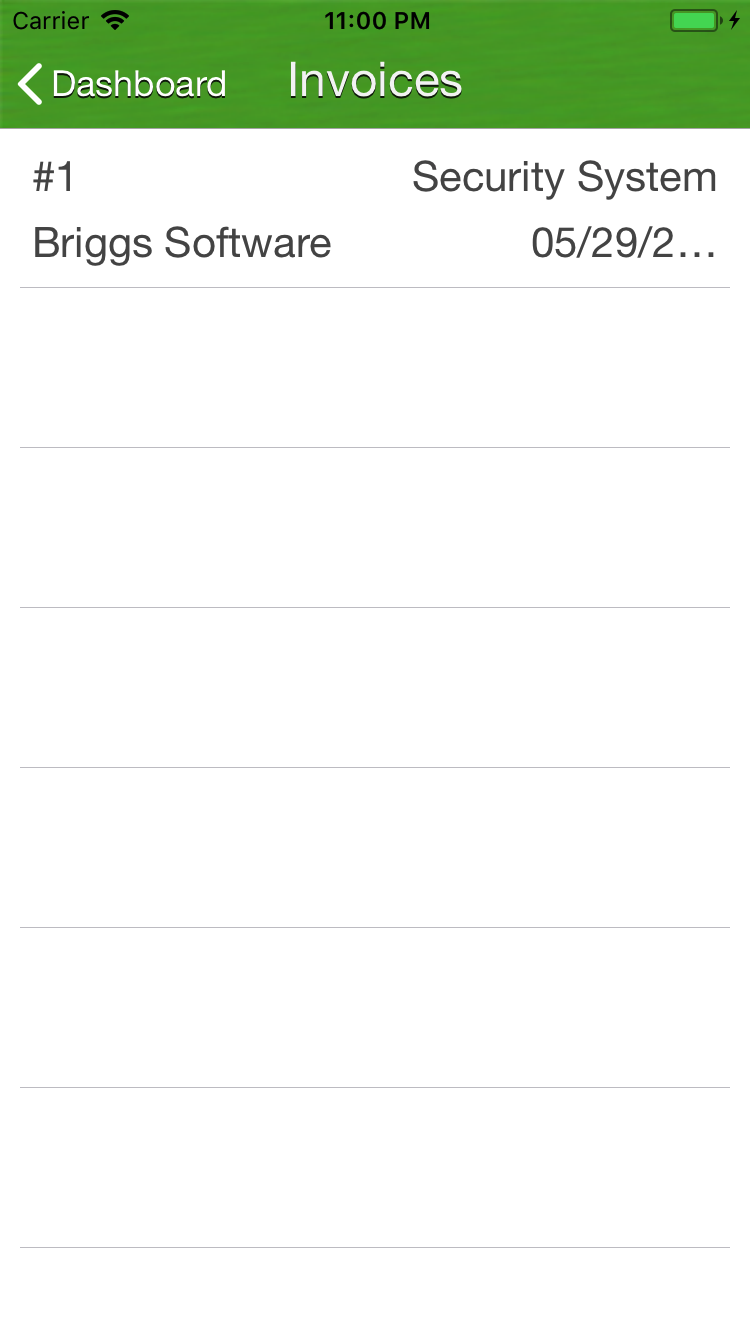
Show Archived Invoices
- From the dashboard, select “Invoices” to display archived invoices.
- All invoices are archived, and are available even if your project and sessions are deleted.
- View, edit, and export invoices as needed.